Getting Started
Home > Publishmatic CONTENT > Getting started
Note: publishmatic CONTENT works with Elementor version 3.6. or higher and with WP Version 5.9.2. or higher.
Please follow the steps below to start using publishmatic CONTENT.
Step 1: Install and activate the Plugin
- Upload the Publishmatic CONTENT plugin to your WordPress site.
- Activate the plugin through the ‘Plugins’ menu in WordPress.
- Enter the license key you received after your purchase and activate it.
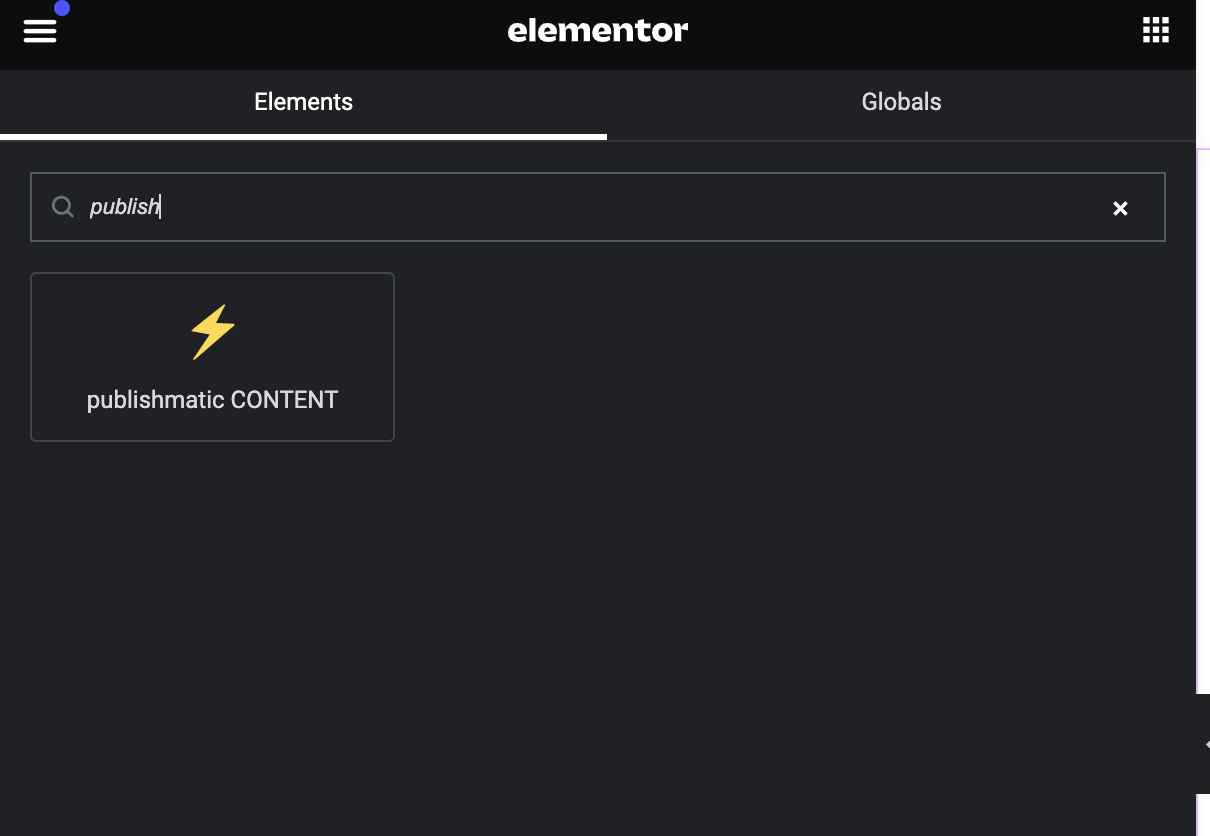
Once your license key is activated, the plugin will appear in the Elementor widget area.

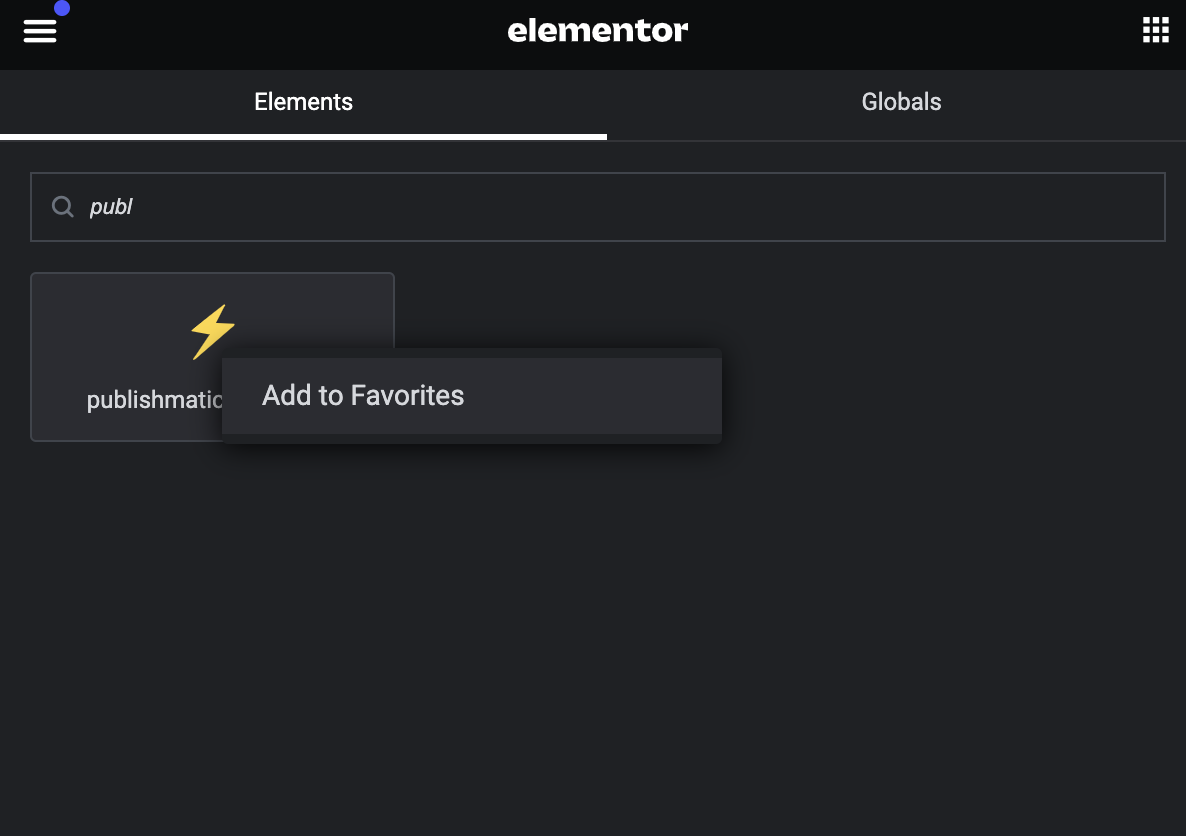
Right-click to add the widget to your favourites.

Step 2: Enable Flexbox in Elementor Settings
Note: On new websites, the Flexbox container is active by default and you can skip Step 2.
If you’re using an older Elementor version, the user interface of the Elementor settings may look slightly different.
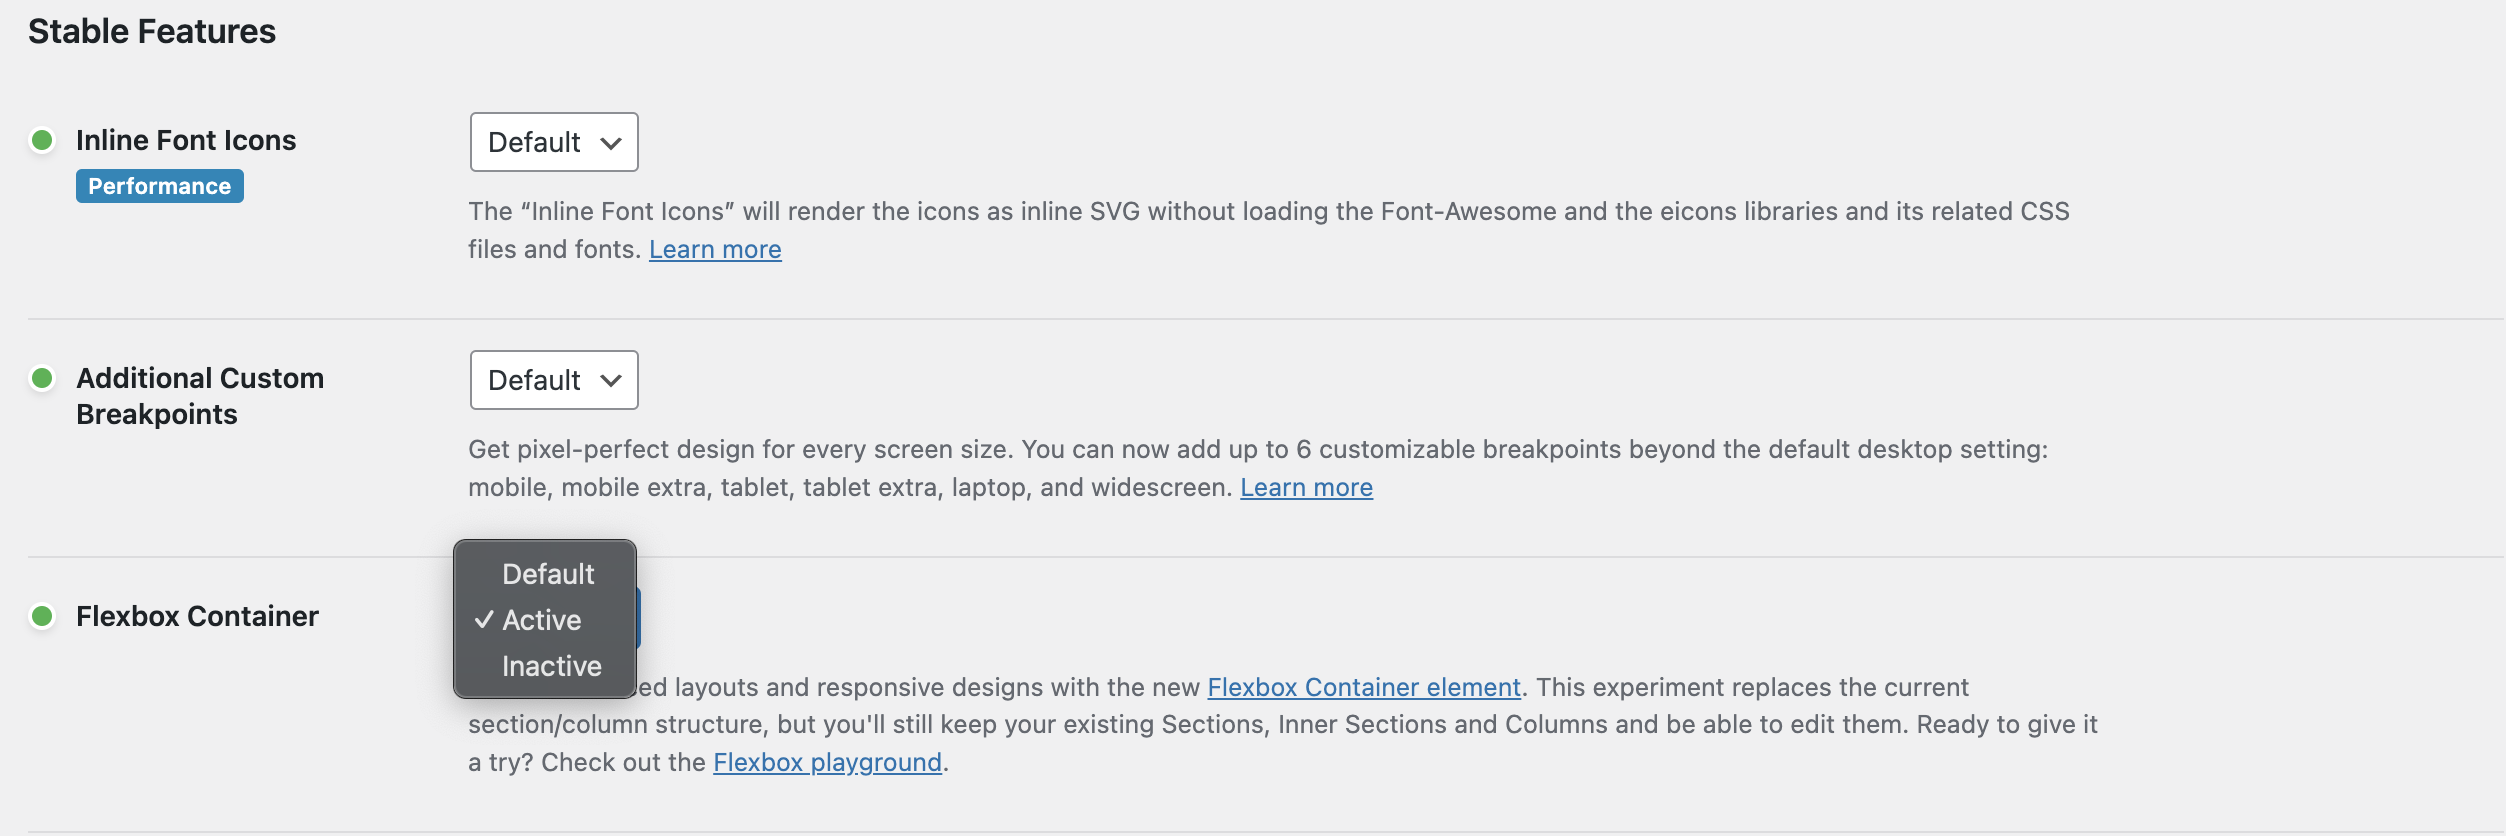
To start using Flexbox in Elementor, you first need to activate it. Navigate to the Elementor settings from your WordPress dashboard. Click on the “Features” tab, then scroll down to find the Flexbox container option. Select “Active” from the drop-down menu and save your changes. You can now proceed to the next step.

Step 3: Write your Article
Simply write your article in ChatGPT, Google Docs, Word or the Tool you prefer. Include images, internal and external links, tables, and more — just the way you are used to.
Step 4: Convert your article to clean HTML
Use our intuitive editor to convert your article into clean HTML. Set a bookmark in your browser so that you can always access the editor conveniently.
Visit our HTML converter to get started.
Step 5: Copy the code and insert it into the publishmatic CONTENT widget
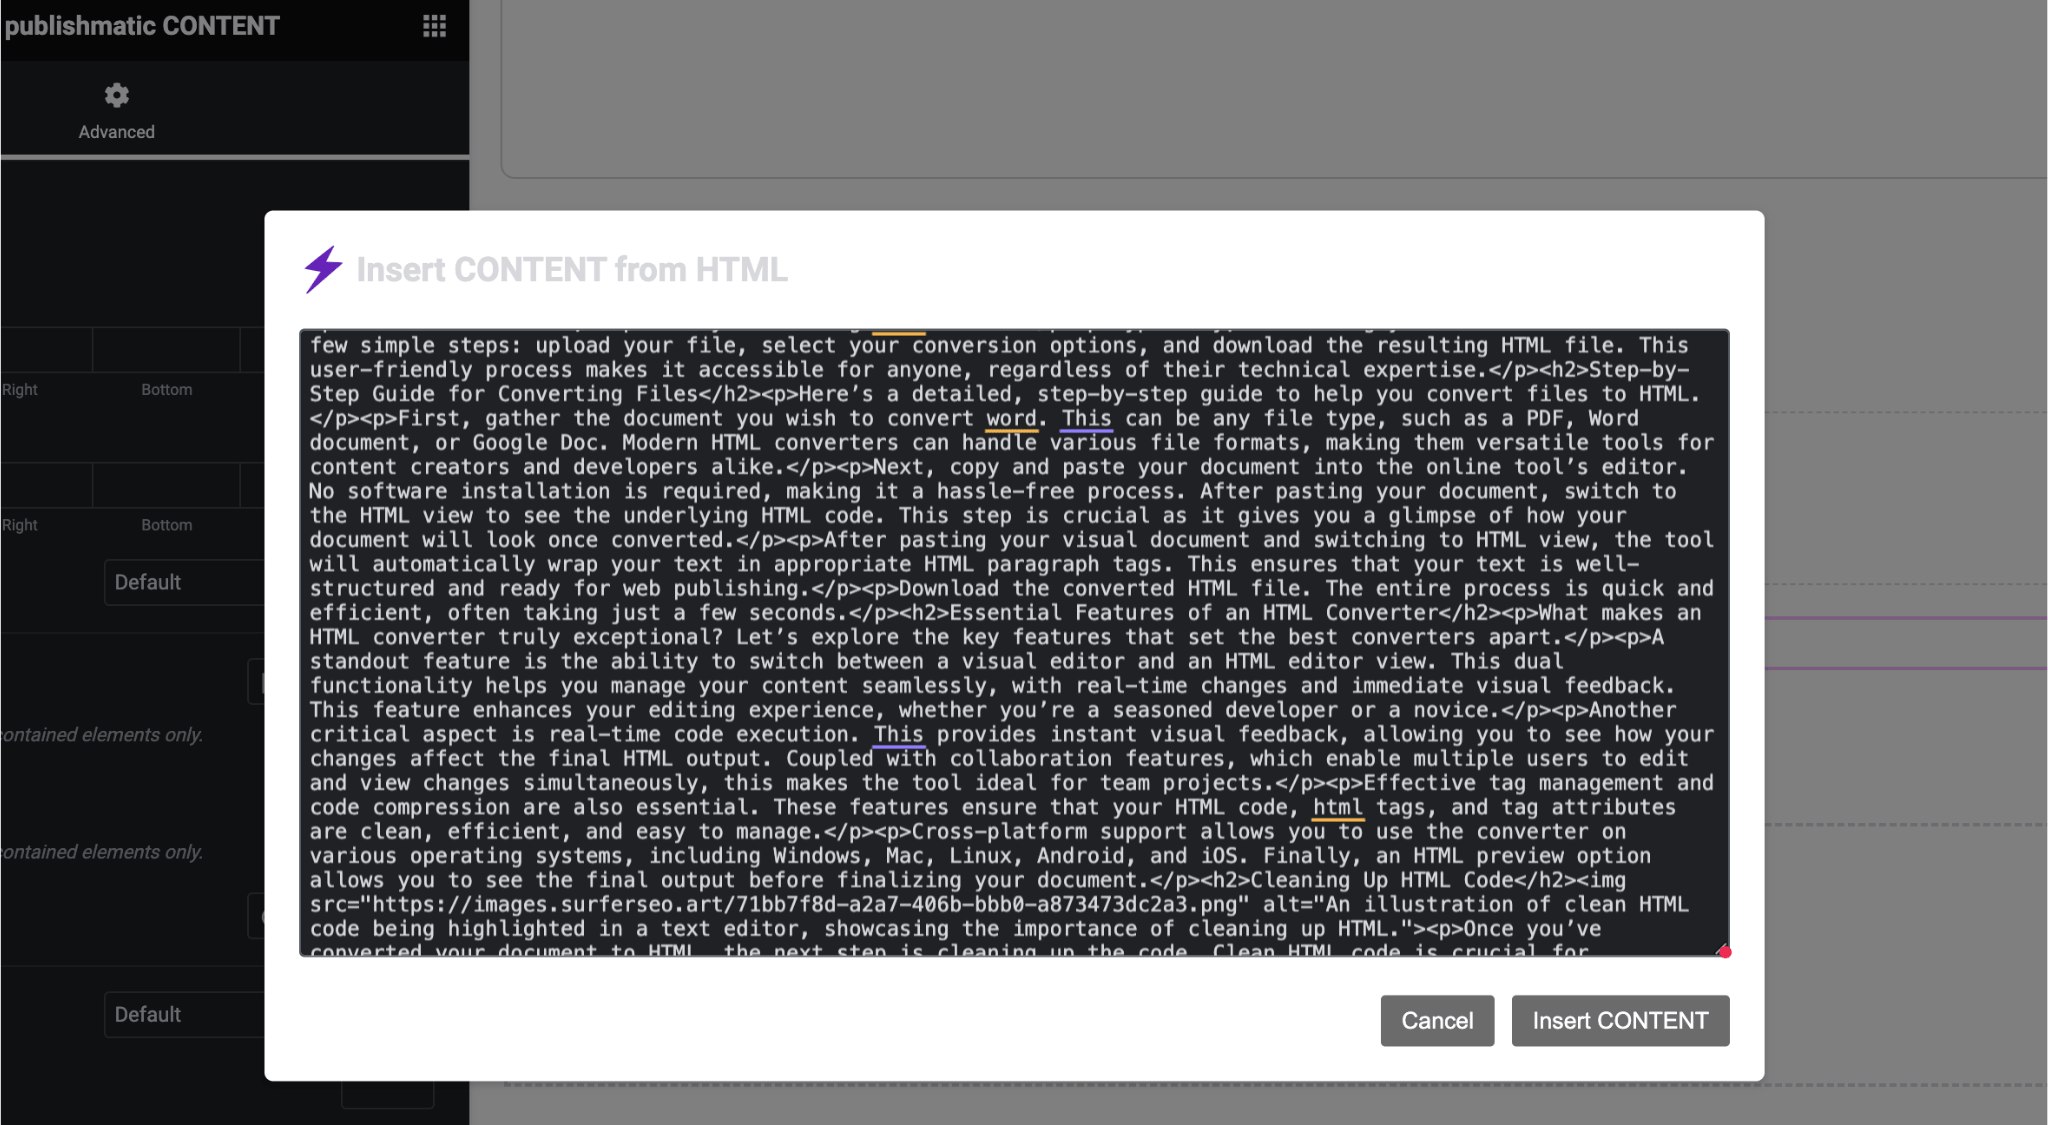
Copy the HTML code generated by our editor and paste it into the publishmatic CONTENT widget within your Elementor editor. Click “Insert CONTENT” and our plugin generates automatically new containers for every paragraph.
Plus: our Plugin automatically detects internal and external links, ensuring external links open in new tabs for better usability.

Step 6: Insert your images
Replace the placeholders with your images from the WordPress media library.
Step 7: Enhance your content
If needed, enhance your content by adding additional widgets, such as your templates, CTAs, contact forms, and more. And that’s it.
You can now start writing your next article.
Do you have any questions about our plugin? Please check our FAQ page, and please don’t hesitate to contact our support team at support@publishmatic.com.
Step 8: Do you love our Plugin? Join our Affiliate Program
If you’re thrilled about our plugin, take advantage of our affiliate program and earn money by recommending publishmatic CONTENT to others.